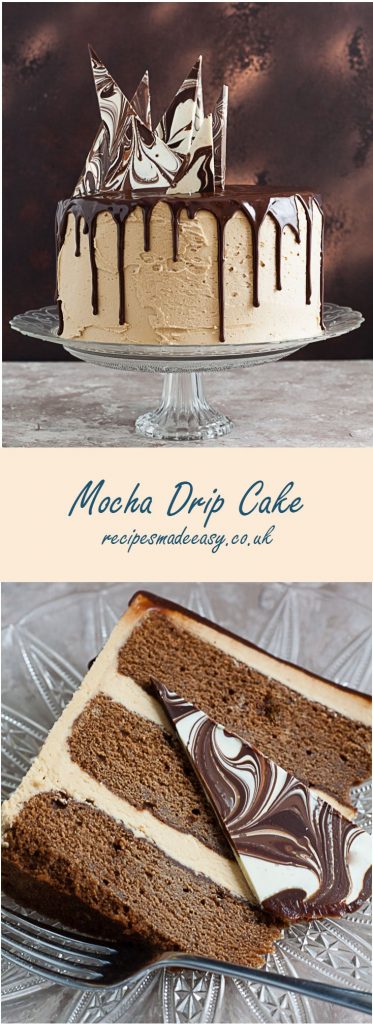
Spoil yourself or a friend with this delicious indulgent Mocha Drip Cake. A showstopper of a cake. Layers of coffee and chocolate flavoured cake, covered in coffee buttercream and topped with a rich chocolate ganache.
Mocha Drip Cake
- Showstopper
- Easter
- Easy Entertaining
- Chocolate
- Fun
I have been looking for an excuse to make an indulgent drip cake and with Easter just around the corner now is as good a time as any. Don't be put off by the long list of ingredients or steps. There is nothing too arduous or difficult here and anyone with some baking experience will be able to tackle this.
The Cakes
I have used three layers of cake to give the cake height. As I do a lot of baking I had three tins and was able to make them all at one time. Don't worry if you do not. For the best results, the recipes is easily divided into thirds, so make the cake in two batches and bake two layers followed by the third. If you make the mixture all in one go you may find the third layer doesn't rise as well as the baking powder will be active while the mixture is standing before baking, so it is worth extra effort. There's no need to wash the mixing bowl between batches so at least there isn't extra washing up!
 The Buttercream
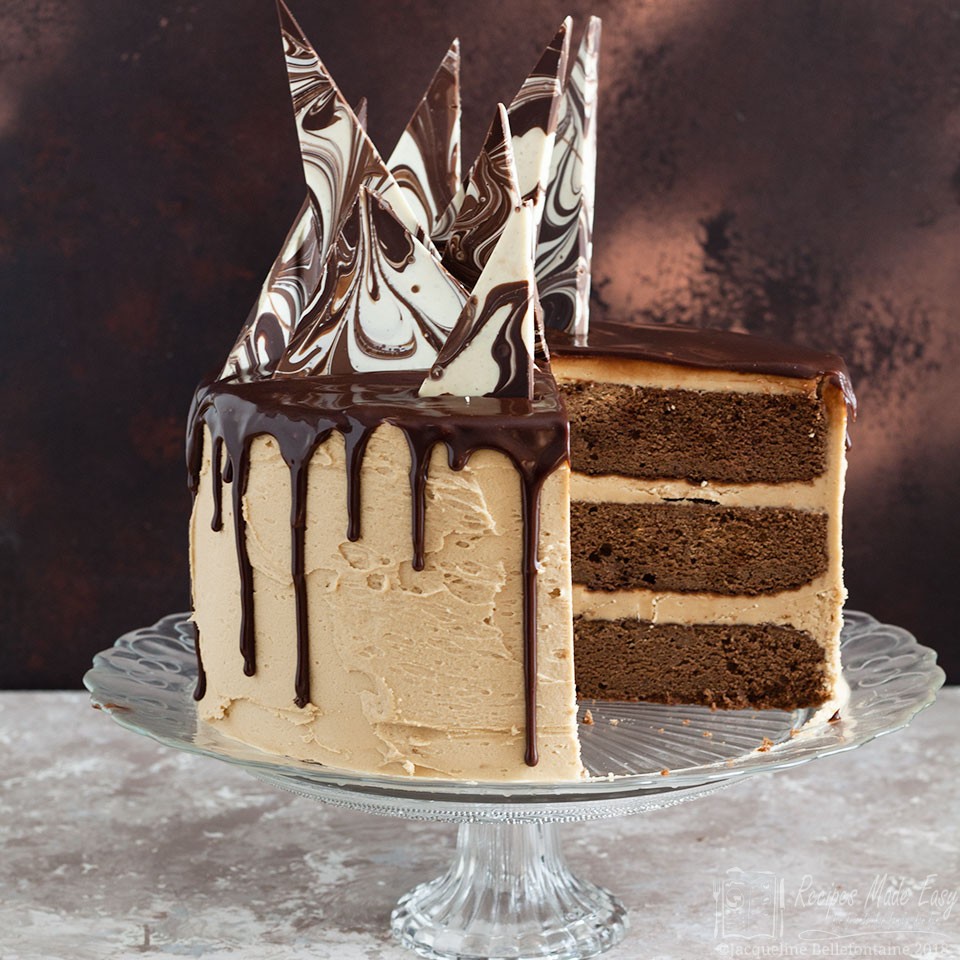
I've seen some drip cakes where the butter icing around the sides of the cake is perfectly smooth and flawless but to me, this seems rather at odds with the casualness of the drip, so that has not been my focus and I am sure you will agree it still looks amazing.
The Drip
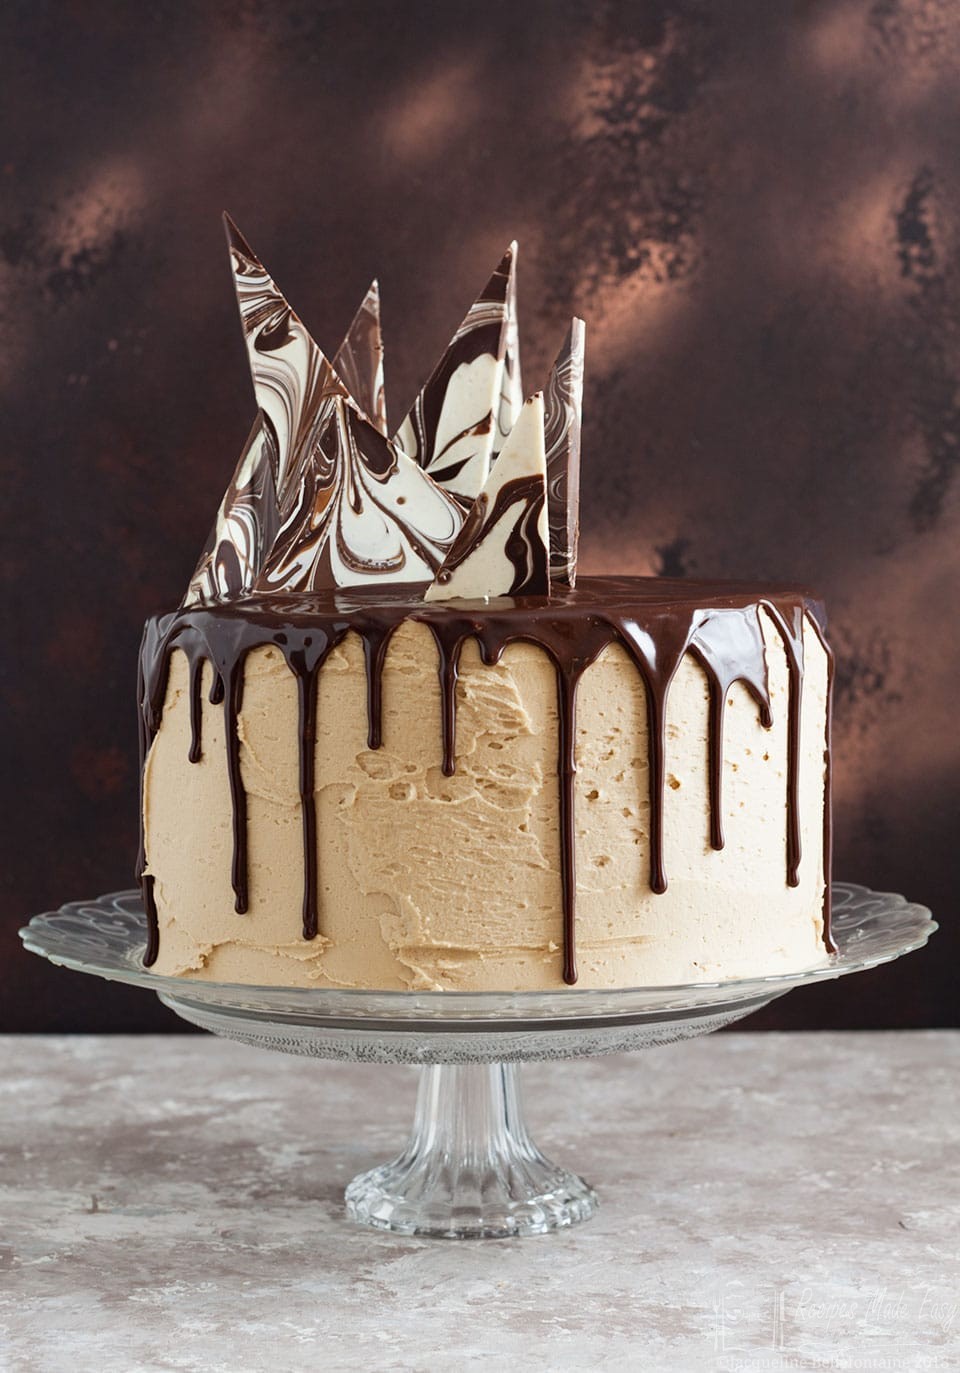
This is the only bit I found a little tricky as my ganache which forms the drip was a little too thick to begin with and didn't want to drip! It was a little too cool, so some gentle heating did the trick but take care not to make it too hot or it will melt the buttercream. As the quantities are quite small I heated the cream in a jug in the microwave before adding the chocolate and stirring to make the ganache, but you can do it in a saucepan. By using a jug I was able to control the pour onto the cake and did the edges, coaxing the ganache to drip down the side first then poured the rest into the middle to cover the top of the cake.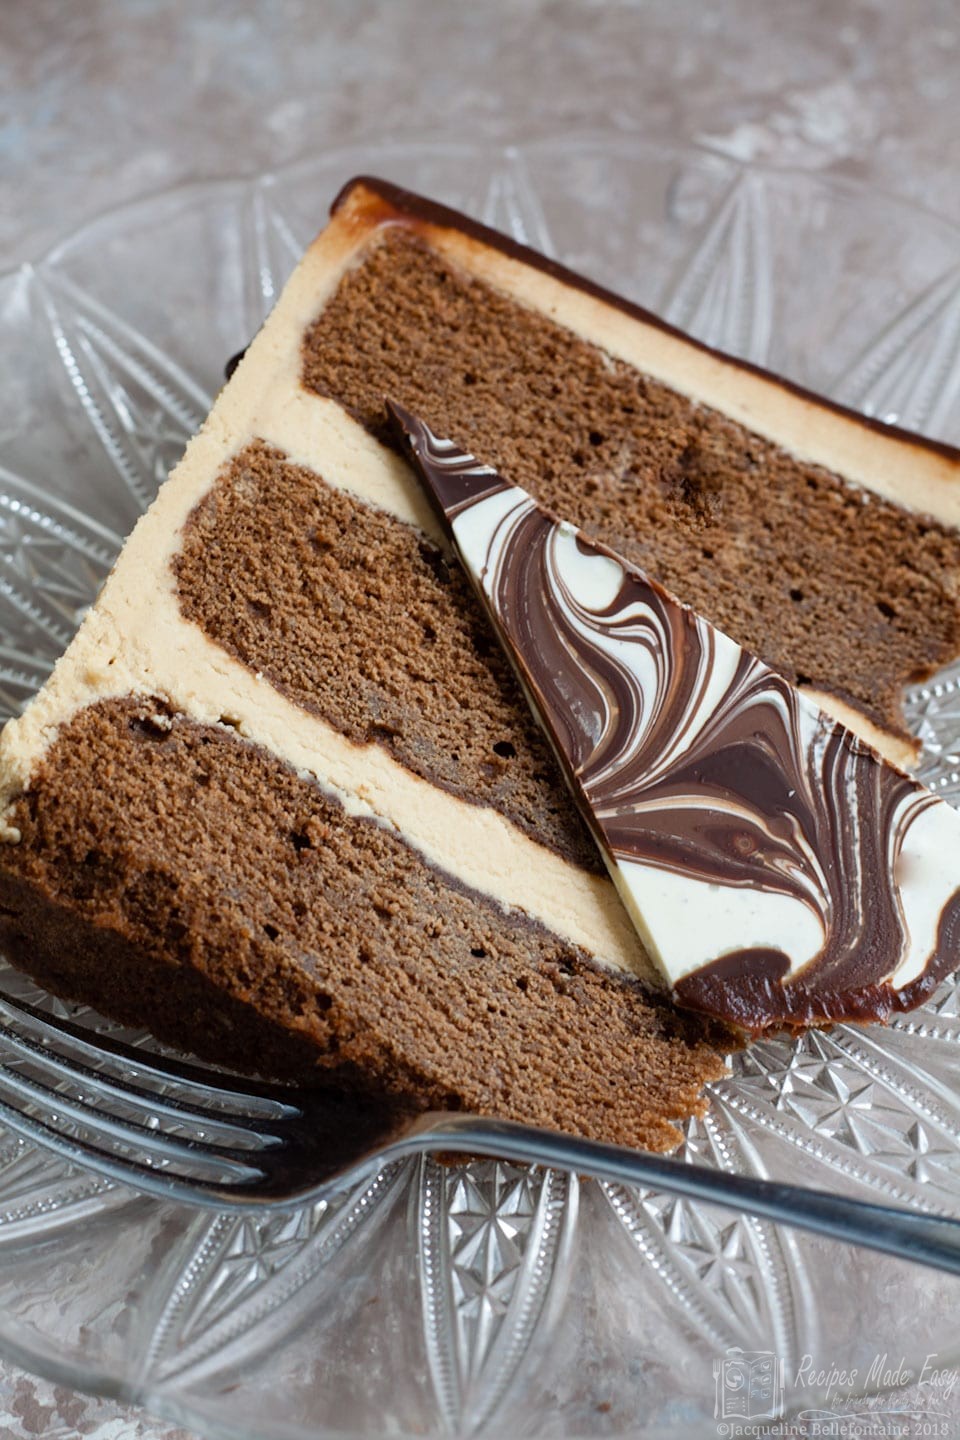
Decorating the Cake
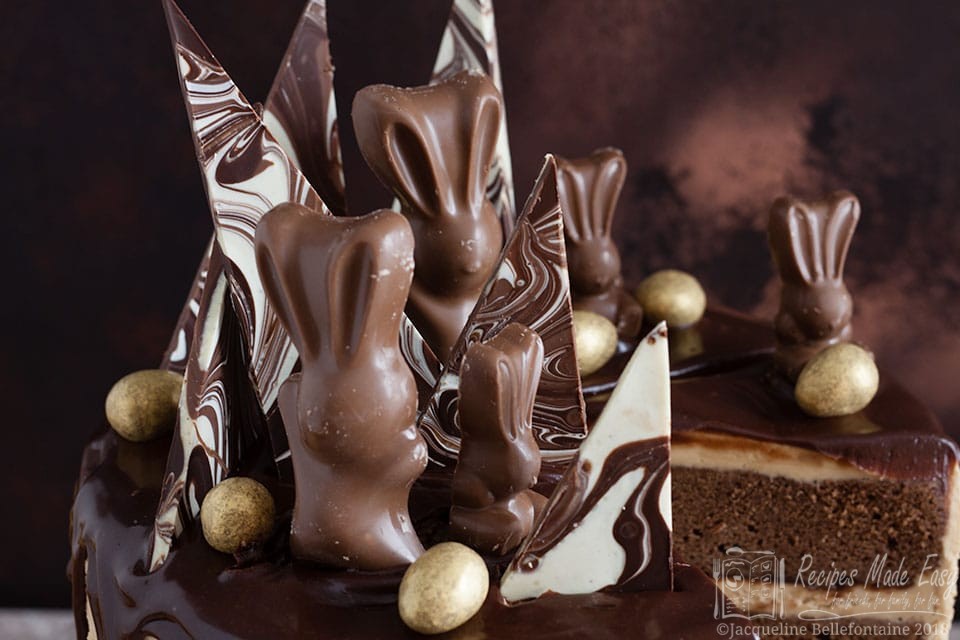
I decided to make some wacky shards of chocolate to top the cake. I used white, milk and plain tempered chocolate and marbled them together and think its looks rather effective and was quite easy to do. I left the chocolate to set at room temperature then just before it had fully hardened, I marked it into shards with a knife before popping in the fridge to harden completely. But you could just break it into chunks. If you don't want to go to the hassle of making your own chocolate shards you could buy a selection of chocolate goodies and use these instead to decorate the top.
As it almost Easter I decided to pimp the finished cake with some chocolate Easter eggs and bunnies. Over the top? Possibly but fun you have to admit.
Mocha Drip Cake
Ingredients
Mocha Cake
- 150 g plain (dark)chocolate
- 3 tablespoon espresso coffee powder
- 375 g butter softened
- 375 g caster sugar
- 6 eggs
- 375 g plain flour
- 1½ teaspoon baking powder
Coffee Buttercream
- 400 g butter softened
- 800 g icing sugar
- 2 tablespoon espresso coffee powder
Marbled chocolate shards
- 75 g plain (dark) chocolate
- 75 g milk chocolate
- 75 g white chocolate
Chocolate ganache
- 100 ml double cream
- 75 g plain (dark) chocolate chopped
Instructions
To make the cake
- Preheat the oven to 170℃ (150℃ fan)/325°F/gas mark 3. Grease and line the base of three 20cm (8in) cake tins.
- Melt the chocolate in a bowl over a pan of hot water. Remove from the heat and allow to cool. Place the coffee in a measuring jug and add 150ml (⅔ cup) of boiling water, stir until dissolved and allow to cool.
- Beat the butter and sugar together until light and fluffy. add the eggs one at a time and beat well after each addition. Add a tablespoon of the flour if the mixture starts to curdle.
- Beat in the melted chocolate. Sift the flour and baking powder into the bowl and fold in. Finally, add the cold coffee and mix well.
- Divide equally between the three tins and level the top. Bake for 30-40 minutes or until springy to the touch. Allow to cool in the tins for a few minutes before turning out onto a wire rack to cool completely.
To Make the Butter Cream
- Dissolve the coffee in 4 tablespoon of boiling water. Beat the butter until softened then beat in the icing sugar until light and fluffy, Beat in the coffee until well combined.
To Make the chocolate shards
- Melt each of the chocolates in a sperate bowl over a pan of hot water, and allow to cool.
- Line a baking sheet with parchment and place spoonfuls of the different chocolates in a random pattern onto the parchment. Use a knife to swirl the chocolates together to give a marbled effect.
- Tap the trap a few times on the work surface to remove any air bubbles and help spread the chocolate thinly. Pop into the refrigerator and allow to set marking into shards just before the chocolate fully hardens
To complete
- Use about half the buttercream to sandwich the three layers of cake together and place on a serving plate.
- Spread the remaining buttercream over the top and sides of the cake and pop into the refrigerator to chill for about 10 minutes.
- Meanwhile, heat the cream until almost simmering the remove from the heat. Add the chopped chocolate and stir to form a smooth ganache.
- Spread the ganache over the top of the cake and coax it towards the edge so that it begins to run in drips down the side of the cake. Chill for another 10 minutes.
- Break the marbled chocolate into shards and use to decorate the cake pushing into the ganache and buttercream.
Notes
Nutrition
More Chocolate Showstoppers on Recipes Made Easy
[easy-image-collage id=9049]
Bec says
Hello,
I love this recipe! I made it for a friends birthday and it went down a treat! I was thinking of halving the recipe to make cupcakes. Do you think that would work?
Thank you for this amazing recipe
Jacqueline Bellefontaine says
So pleased to hear you liked the cake and that it went down a treat with your friend.
Yes the mixture will work just fine as cup cakes what great idea a lot less work ha ha. Bake 190℃ (170℃ fan)/375°F/gas mark 5. for about 20 minutes. Jacqui
Jacqueline Bellefontaine says
So pleased to hear you liked the cake and that it went down a treat with your friend.
Yes the mixture will work just fine as cup cakes what great idea a lot less work ha ha. Bake 190℃ (170℃ fan)/375°F/gas mark 5. for about 20 minutes. Jacqui x
Holly B says
Hi - this looks amazing! How do you store the cake? I want to make mine the day before a party and serve the following night but need to store it overnight!
Jacqueline Bellefontaine says
Hello Holly
You can make this cake the day before no problem so long as you store it in a cool dry place. Ideally, store in an airtight container. (you could store the chocolate decorations separately in another container in a single layer and add them just before serving).
Jolene says
Hi. I'm going to attempt this cake for my son's 18th birthday. Can I use salted butter for this recipe as that is all I have or will that ruin the cake and buttercream?
Jacqueline A Bellefontaine says
Yes you can use salted butter for the cake. To be honest I use lightly salted butter for almost all my baking. A lot of bakers use unsalted and then add salt to the recipe I can not see the point of that. If is essential not use salted butter then i will specify unsalted. Good luck with Your bake. Do let me know how you got on. Happy birthday to your son. Jacqui x
Jolene says
Thanks so much. The cake turned out amazing. Everyone loved it! I made it as the top tier of a chocolate drip cake decorated with donuts and chocolates.
Jacqueline A Bellefontaine says
Oh I am so pleased Would love to see how it looked did you share any pictures on Social media?
Jolene says
Only on my facebook page. I could email you a pic if you like. I was proud of how it turned out:)
Jacqueline A Bellefontaine says
Oh yes please. I would love to see it. you can email via my contact page. Can i share too?
Cat | Curly's Cooking says
This cake looks fantastic! Your layers are perfect and look great. It looks like such a delicious rich cake with lovely creamy frosting - definitely a show stopper!
Jacqueline Bellefontaine says
Thank you Cat, I is yummy and I was surprised how easy it was so long as the drip is not too thick!
Jacqueline Bellefontaine says
Thank you Cat I was pleased with how good it looked for something that was actually quite easy to do.
Louise Fairweather says
This looks fantastic. I want to have a go at making an drip cake
Jacqueline Bellefontaine says
Do have a try it is not as hard as it might look, Just make sure the drip is drippy enough.
Aly says
Would this freeze so I can make it in advance?
Jacqueline Bellefontaine says
You could freeze the cake undecorated for up to 3 months. You could also fill the cake and crumb cover with buttercream and freeze for up to a month. Defrost completely and bring to a cool room temperature before decorating with a final layer of buttercream and the drip. If you do the drip while the cake is too cold it will not run. Hope this helps and enjoy
Anca says
The drip on the cake looks lovely, so precise. I imagine is quite hard to do, so well done. I love the flavours of the cake too.
Jacqueline Bellefontaine says
Whats not to love about chocolate and coffee two of my favourite things. The cake was actually much easier to do than I thought and I would definitely make another as they look rather impressive.
Sabrina says
This is a lovely recipe. I can't wait to try it.
Jacqueline Bellefontaine says
Thank you Sabrina i am sure you would like it
Helen says
This looks amazing! Those layers & drips are so neat & perfect.
Jacqueline Bellefontaine says
Thank you Helen
Jo Allison / Jo's Kitchen Larder says
That is one beautiful cake Jacqui! I love everything about it, the shards, the ganache drip and that it contains substantial amount of coffee lol I do like coffee cakes and desserts. Beautiful showstopper and gorgeous photos too!
Jacqueline Bellefontaine says
Thank you Jo I do like my coffee, lol. It was surprisingly easy to make
jenny Paulin says
what a stunning cake Jacqueline! The flavours sound so delicious,but it is just so beautiful to look at! YUM! x
Jacqueline Bellefontaine says
Thank you Jeenny, I love coffee and chcolate so it's a fav combination of mine.
jenny paulin says
also thank you for sharing with #Bakeoftheweek x
Jacqueline Bellefontaine says
Thank you Jenny.
Monika Dabrowski says
Oh my goodness, Jacqui, what a cake, just sensational, almost too good to eat! Looks perfect and I love how you've decorated it! #CookBlogShare
Jacqueline Bellefontaine says
It is deceptively easy, I would definitely make a drip cake again as they do look rather grand.